When I was expecting my second little girl, I wanted to find a diaper bag that didn't look like a diaper bag. I wanted something cute, but functional. I am sure many can relate. So, I searched on the internet but the ones I found were so darn expensive. After looking and looking, I found a bag that I really liked on
Etsy (that wasn't a diaper bag) but it was just too cute. The more I looked at it, the more I realized that I could probably just make it myself. One day I was at Walmart and found some thick canvas material for $4 a yard (all I needed was a yard). I bought a yard of navy and a yard of black. 2 bags for $8, I think so! I already had some pink material that I was going to line the bag with, so I was set.
Here is how it went........
I started with a piece of black canvas 35 inches long x 19 inches wide.
I folded the fabric in half so that it was 17.5 x 19.
At the fold, I seperated it & made a new fold that was inches long & pinned it. This will be the bottom of the bag
I then sewed the right & left sides of the fabric, leaving the top 5 inches unsewn.
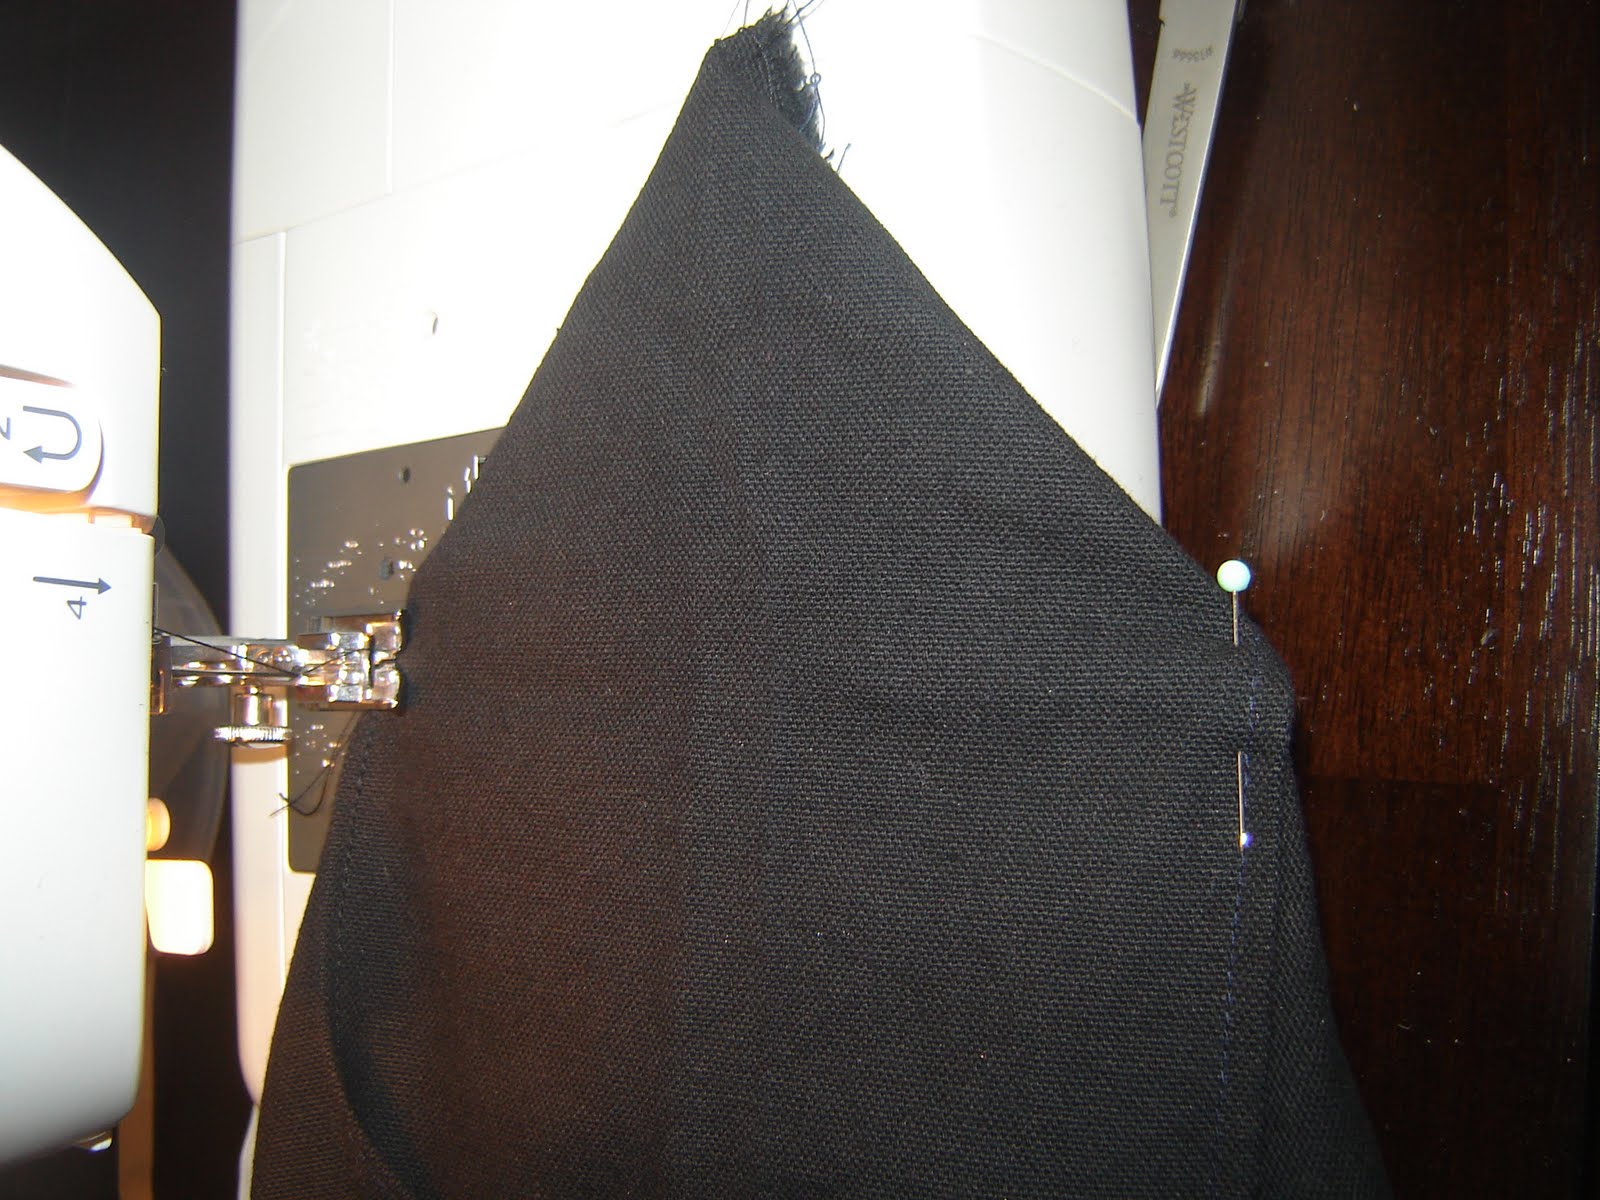
Then I took the bottom of the bag & created a point on each side and sewed down the middle. This will help the bag to have a sturdy bottom.
When you turn the bag right side out this it what the bottom should look like.
Now for the bow!
I turned my bag back inside out. I took a strip of my black canvas material (17.5 inches l x 8.5 w) and pinned it on the inside (which will be the front of the bag).
I sewed up the sides and turned it right side out.
Now for the inside lining of the bag.
I had a piece of fabric 34 inches long x 18 inches wide.
I folded it in half & sewed up the right & left side.
I made 2 pockets. 1 elastic pocket & 1 regular pocket.
For the elastic pocket, I took a piece of material ( 4.5 x 4.5 ) folded over one side of the material as if I were hemming it. I pinned it & sewed it creating a place for my elastic to go.
I then took a piece of elastic, attached a safety pin to it and strung it through my hole. I gathered the fabric to the tightness of my liking and and pinned it on both open ends where my elastic is strung through.

I then sewed up the open ends and pinned the pocket to my lining and sewed it on.
Voila... a pocket where you want it!
Once I was done with the pocket I inserted the lining into the bag. You want the lining to be inside out when you insert it into the bag. I then started rolling over the canvas bag material (like a hem) to finish up the edge of the bag.
I took my straps (16 inches long x 1.5 wide) and pinned them where I wanted them (inserting the edge underneath my hem. Next, I sewed up my hem!
The bow.....

Take a 1/2 inch x 2 inch piece of material from your canvas and hem the edges. Gather your thick strap that is attached to the front of your bag and wrap the piece of material around, creating the top of the bow.
Then, take another strip of fabric ( 24 inches long x 2inches wide) for the bow tassles and hem the sides again.
String through the loop you made & attached to create the top of the bow and now a completed bow!
Here is the completed Bow Bag!
<a href="http://www.skiptomylou.org/" ><img src="http://www.skiptomylou.org/wp-content/uploads/2010/01/button2.jpg" /></a><br />